
I'm proud to announced my new line! I have this fascination with old books, and in particular ... covers of old books. I acquired some interesting old hardcover books. So I am going to 'recover' them for new casings and other purposes.
I will take requests and orders for different custom-made Booked!s. Meanwhile, I will show you that all will be individually handmade, by my first Booked! travel pouch.
Carefully, I gutted out the pages, still bound. (Note the black leather bound book? ... ooo, loved the embossed pattern on the cover)
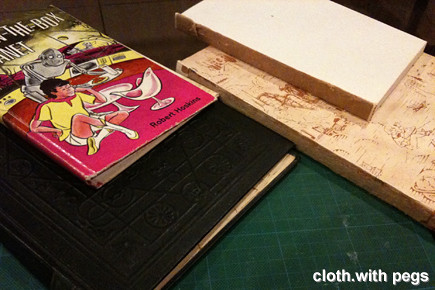 I am using "Jack-in-the-Box Planet" storybook cover.
 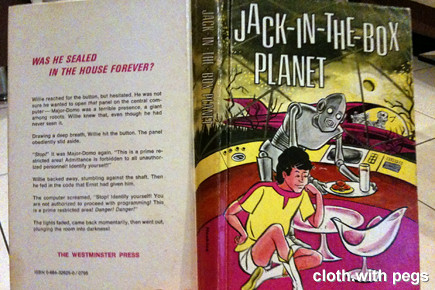 The inside of the cover after the pages had been gutted out.
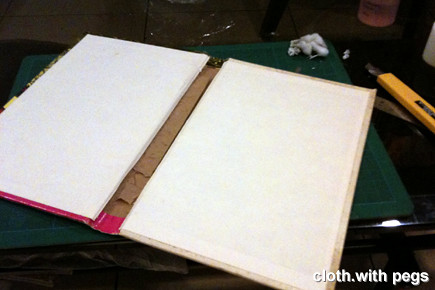 I glued in the zipper with 2 tabs, around the 3 sides of the cover (sparing the spine).
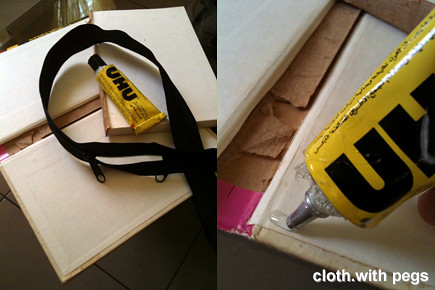 Stuck the zipper in place ... around the corner ...
 ... and the sides.
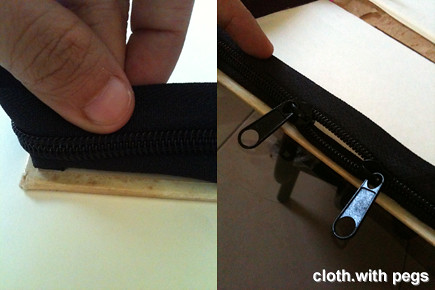 Cut the extra length, unzipped the zipper...
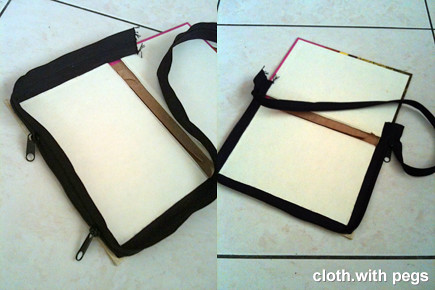 ... and glued the other tape of the zipper to the opposite side of the bookcover.
 When opened ... and when zipped...
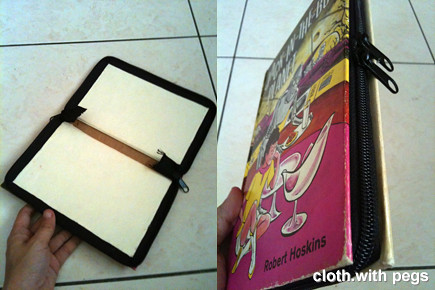 Using the bound pages, I traced it onto a cyan-colored felt, for the lining...
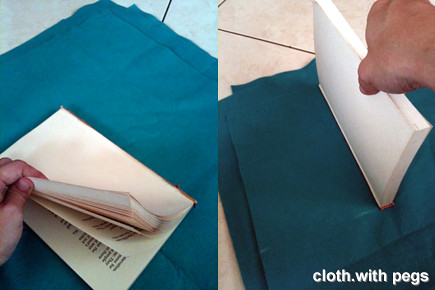 ... and cut.
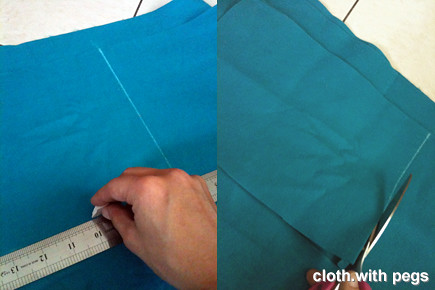 Now, for the pockets, I realised that since passports are presented at immigration counters without jackets, I would just make a pocket for it, instead of a sleeve.
 I roughly sketched out all the dimensions of the pockets I need, and proceeded to prepare the pieces.
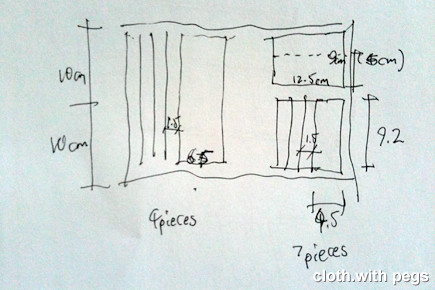
After I cut out all the pieces I need, in the same colored felt as the lining, I laid them all out and checked the thickness and spacing. (decided to reduce the card pockets to 6 instead of the original 7)
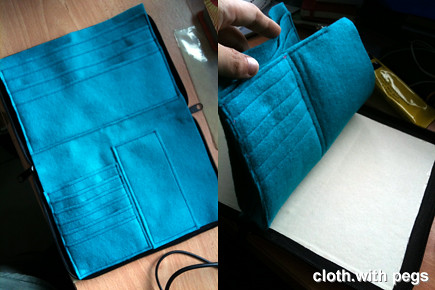
 Since the pockets are the same color as the lining, I stitched the pockets in using bright pink threads. This forms a nice outline and definition for each pocket.
 Sewed the card pockets on... and then, the pocket for passport ... and finally the pockets for different currencies and boarding passes.
Now, securing the pockets unto the bookcover. I started with gluing down the mid-portion of the lining into the book spine.
With the middle properly lined, I glued down both sides.
 Pressed the felt lining down and smoothed out all the edges, making sure there are no loose edges.
 The official first Booked! travel pouch ... camouflaged as something most travelers will carry with them to occupy their waiting time.
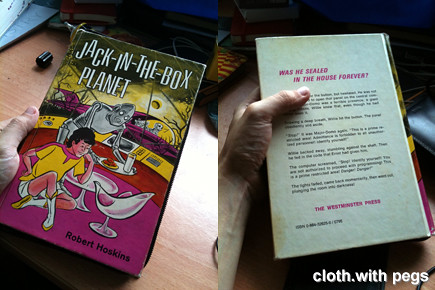 And, unzipping the sides to reveal the pockets inside ...
 So, now ... anything that needed to be Booked!, write me your requests and email, at the comments column.
6 comments:
wooaahhh... ( jaws dropped ).
wanna make one for me.>??
Anything that needed to be Booked!, write me your requests and email, and we'll communicate from there onwards. Thanks.
This is absolutely brilliant, man! So creative and camouflages so well. How long did it take you and how much do you charge for this kinda stuff?
Thanks Chrystin. I do not intend to charge more than the average travel wallet. So far, those I saw online are going for USD20 (passport sleeves with some pockets) until USD80 (travel wallet with passport holders & pockets, and zipped) ... branded ones are definitely more.
I am planning to work within the average and basing on the specific requests. ;)
wow!!! (jaws dislocated altogether) you are really-really creative.. What a brilliant idea.. can't wait to see more booked products..
These are brilliant! You are very creative :)
Post a Comment