 Further reading here.
Trouble-shooting guides here.

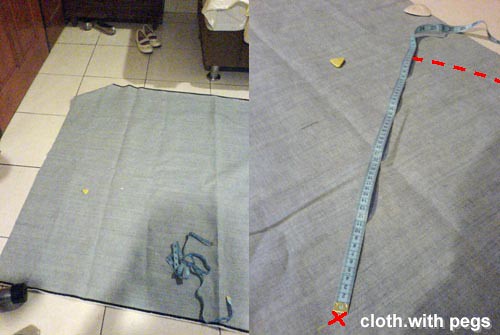
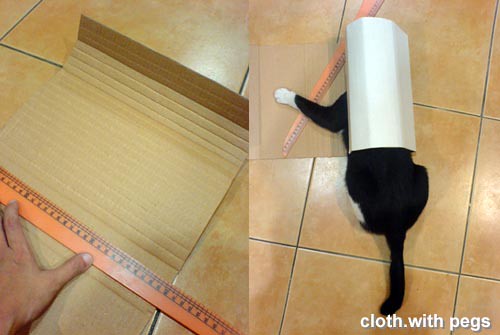 After removing the cat, I unrolled it and cut it down to the appropriate height. I allowed 15cm in height. And, cut.
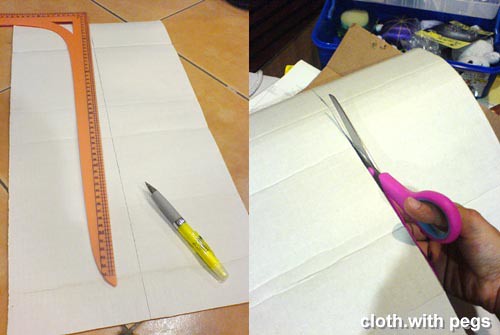 Then, I measured out the girth of Gette's head and cut off the excess cardboard, so I can tape both ends together. After with, I placed it over the cardboard, where I traced the circumference to cover the top of the hat.
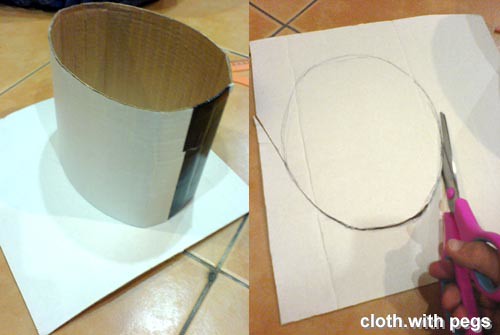 Putting it in place, I taped the top of the hat to the top of the flue. This also ensures that the hat holds it shape. To check, I placed it on Gette's head.
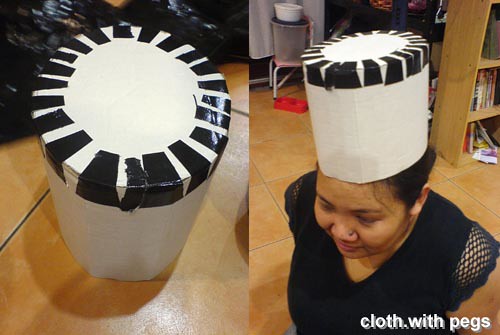 Here, I lightly sketched the brim on a thinner piece of cardboard. Almost a 10cm offset from the circumference of the flue. And to secure the brim to the flue, I offset an extra 3cm in the inner circumference, where I eventually cut it perpendicular to the circumference line in segmented flaps.
 Putting the brim in place, I folded those flaps back against the inside of the flue and taped it together.
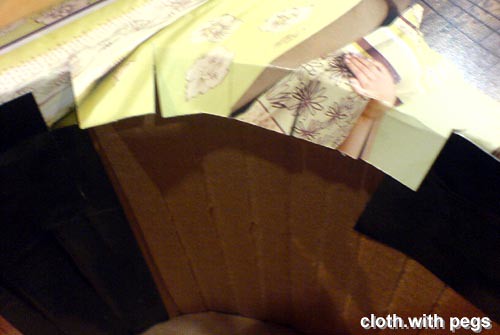
 Here is what it should look like before attaching the finishing touches in black felt.
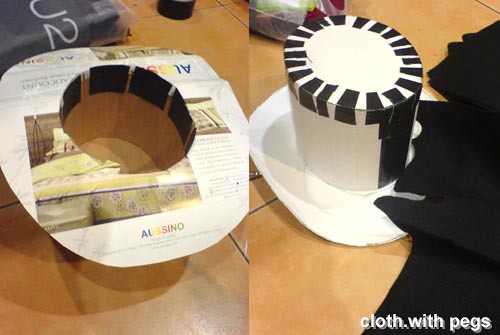 Now, I'm preparing the respective finishing pieces by tracing the outline over black felt with my white chalk.
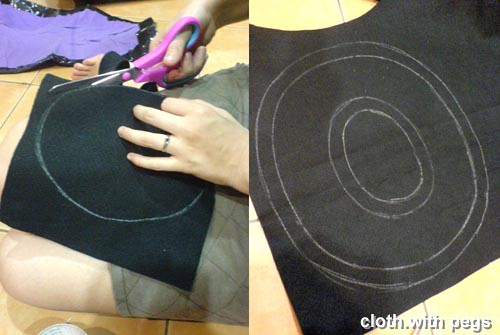 I attached the felt for the brim first. This piece has flaps on the inside and outside of the brim felt. This time, the segmented flaps for the inside are folded up against the flue on the outside, while the other flaps are folded over the underside of the brim.
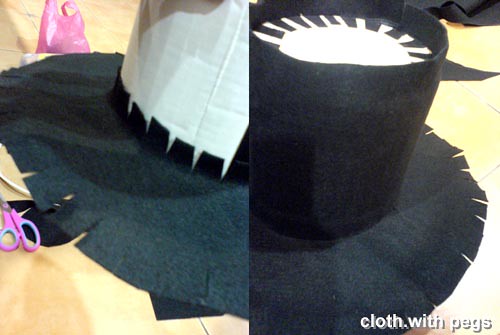 Flipping it upside down, I attached the final piece of the finishing felt for the underside of the brim.
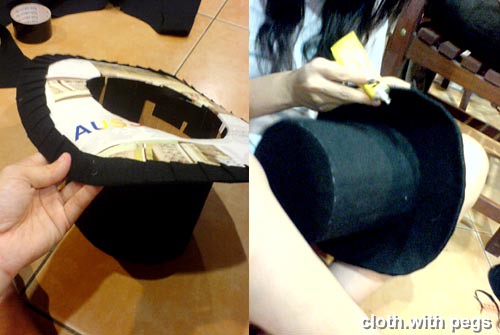 Molding it up to look the part, I rolled up the left & right side of the brim, to give it a slight curve. Here's the top hat with some 'garnish'. For the hatband, we used the tulle which was used as a wedding veil for Maggie's photo shoot. I tied the tulle into different styles to test the effect; long train, or short puffy.
 Here's Gette, modelling her top hat, with the short puffy and long train combo.
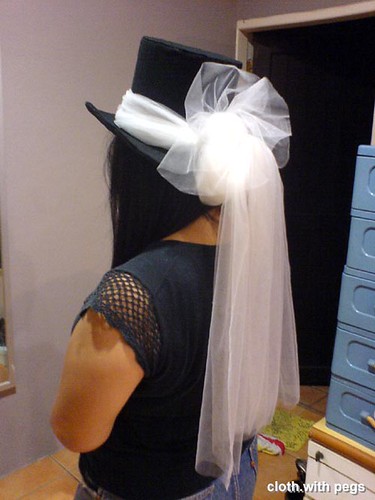 Note: Yes, I have a habit of calling embellishments and stuffs that pretty-up, as 'garnish'.
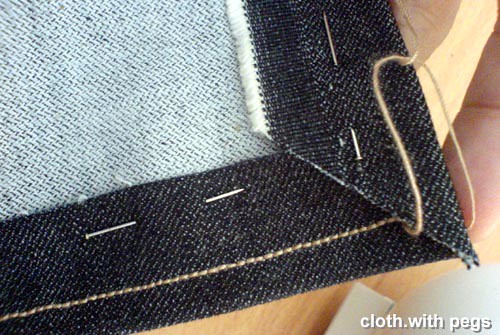
 And, hemmed.
 As for the bottom corners, I nipped of the corners diagonally, so I can fold them in and sew a neat corner.
 After hemming the edges, I sewed a niche for the cover to sit properly over the ottoman, and finished of the exposed edges by close stitches.
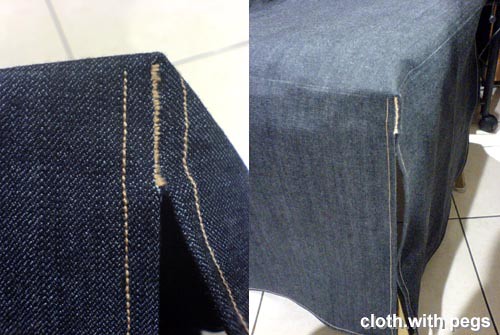 Like every makeover projects, here's the before and after picture.

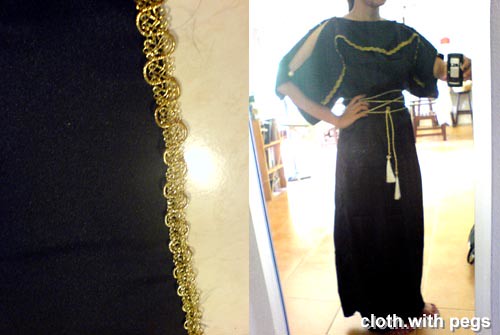
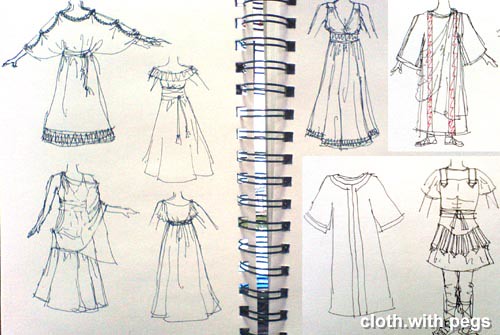 Knowing that some of those people I will invite may find making the costume 'troublesome', I offered to prepare everything for them. I hope this is just my own excuse for justifying my need to sew. I will document every costume I am going to make, until we have the Dinner.
 Offset the outline by 3cm and cut.
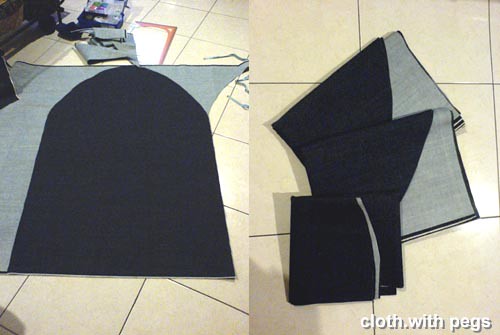
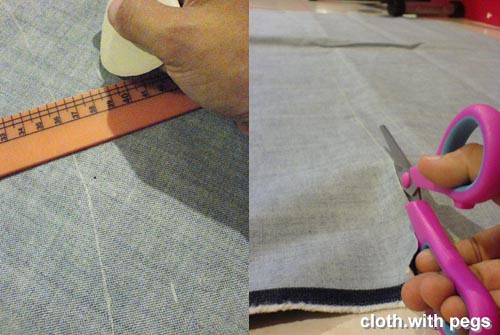 I checked out the circumference of the 1m diameter circle and divided it by 4. works out to be about 78.8cm width for each side piece. The pattern I drew was a pointed arch, sides parallel for about 75cm and arching towards the middle. Again, I added 3cm offset on all sides. And cut 4 side pieces.
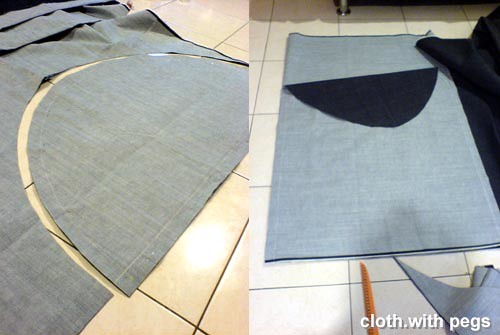
 With all the pieces cut out, I stitched the 2 semi-circles together along the straight side, lightly. I parted it down by ironing, and hand-sewn the zipper in place.
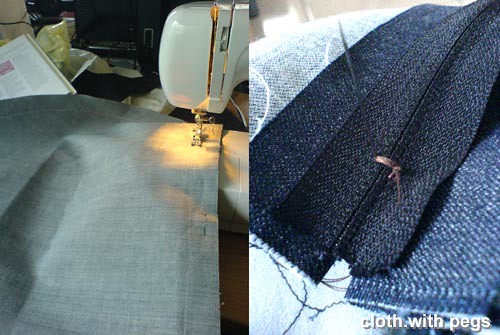 Inside and Outside.
 Here, I pinned both flaps down so I can neatly sew it through the sewing machine without worrying about accidental overlaps. Changed to a presser foot for zippers and sewed down both sides .
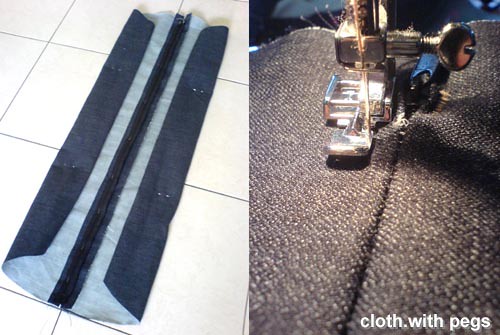 After that, I opened the light stitch for the zipper and picked out all the loose threads. There, we have the bottom.
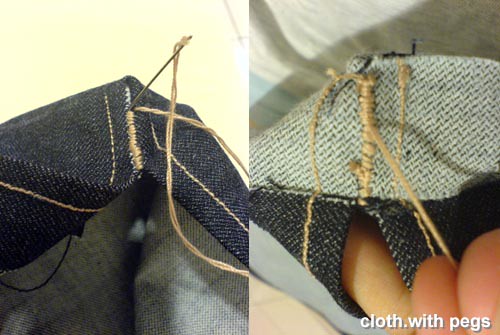
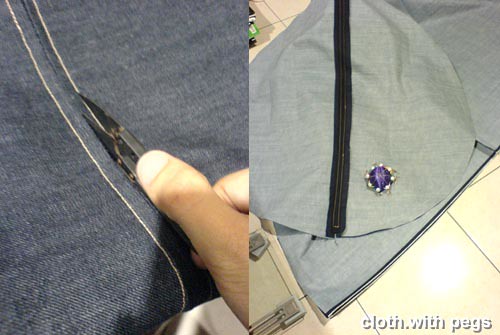 I sewed the sides panels together, from the sides up to the arch, leaving the 78cm width to be attached to the bottom. I knotted the threads together, and again.
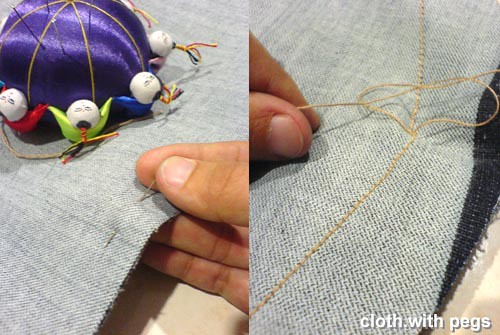 To secure it even more, I decided to hand-sew all of the points (at the arch) together.
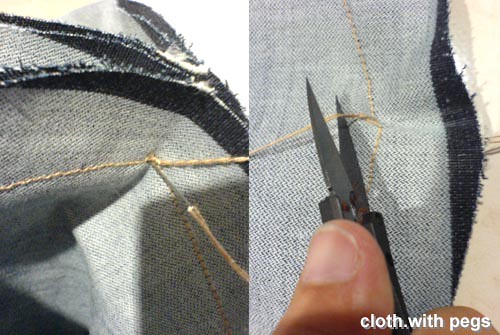 Here I pinned the bottom (circle) piece in place to all the side panels.
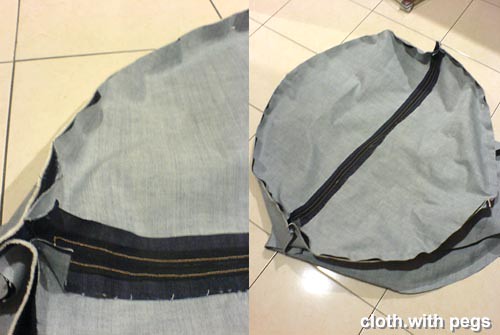 Satisfied that it's all in place, I sewed along the circumference of the bottom piece, attaching the bottom with the top.
 Viola! Brought it to Aline's new house and filled it with polystyrene balls she brought back from her recent trip and decided it should need more. She said she didn't imagine it to be that big, but now she has a lover's couch! Without any other couch at her house, her prospects will have to share this bean bag with her.