Recently, I saw that a dinner I’ll be attending is themed as “Mysterious”, and so, I made myself a masquerade mask. I have always been fascinated with masquerade masks, but they tend to get quite pricey and also, not so available locally.
Like always, I put together a couple of crafting tutorials and improvised them for making this mask. For moulding the shape of the mask, I used 3 layers of aluminium foil (those you use in the kitchen) and pressed it up against my face. Making sure I get those brows, eye sockets, nose & cheekbones.
 Then, I cut into the eye sockets in flaps and folded it to the back. I tried to check in the mirror once in a while until I get the desired eye opening, for one eye first.
 Close-up of the opening.
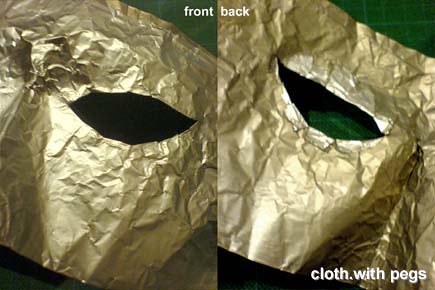 To get the (close to) exact opening size, I traced the first opening, cut it out, flipped it over (mirrored) to the other side and traced it into place. And, repeat the previous process for the eye opening.
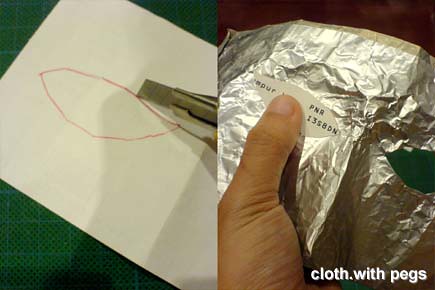 After that, looking through both openings, I sketched the outline of the mask, by pressing it up against my face and in front of the mirror. Then, I folded the extra aluminium foil along the edges, to the back. This should also make the mask have a stronger and more defined edge.
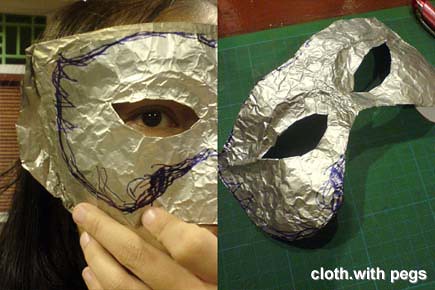 I continued to mould it for a more 3D effect. Here’s the front & the back of it.
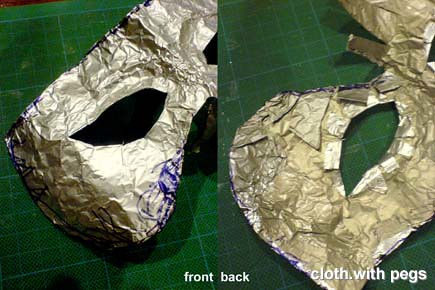 I chose to add another base to the aluminium foil, by wrapping it up in strips of masking tape. This also holds those loose aluminium flaps in place before applying the paper mache, using toilet paper & craft glue.
 Application of craft glue and layers of toilet paper strips later, I finished it off with a final coat of water with diluted craft glue, and left it to dry.

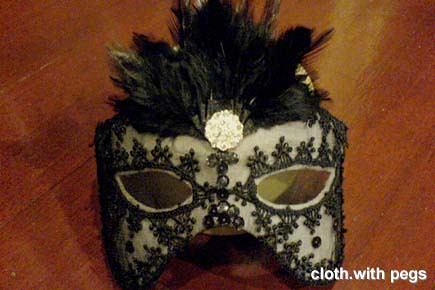
 On the dried mask, I glue on a layer of black tulle (salvaged from other sewing projects). I chose to not cut openings at the eyes, since there was visibility through the tulle. Since most of the garnish I chose was already in black, I also did not paint the paper mache finish, so I could get a bit of contrast with the tulle lined on it. Then I garnished it further with black sequins, black feathers, black lace trims and an elaborate ‘diamond’ button.
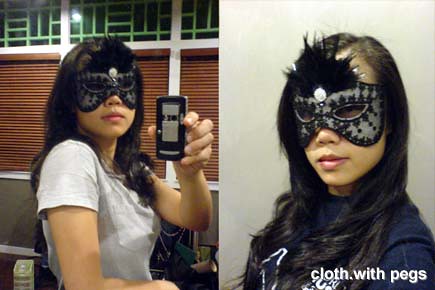
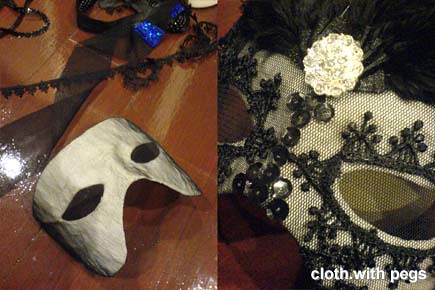 ... and voila! At this moment, the mask kind of grabs my face at the forehead and the sides. I may add ribbons to tie it to the back of my head, or a stick to the side at a later stage.

13 comments:
This will come in handy when we get around to the superhero theme!
ya, we could get them all to just sit down and decorate their own mask.
Nice.... very classy. :)
Hi Pegs. Looks really good ! You can use it for the BTS Gala Dinner.
Would you mind making a Phantom mask for me ?
yes CW, it was supposed to be for the BTS Gala Dinner, if I am going :P
and I would be honored to make u a phantom's mask, if only I can get some aluminum foil on your face first ... :P
I'm sure u will be at the Gala Dinner. A little bird tells me that someone is getting tickets.
Hey. I will be at the Habitat Dinner this Saturday Night. Could you put some aluminium foil on my face then ?
sure sure :D then i must remember to bring along some aluminum foil.
Great workmanship and creativity, I love your works.
Thanks Ken!!! :D
hey you do really cool stuff!
haha, thank Pris, you're a really cool mum too!
Thanks for taking the time to discuss about this, I feel strongly about this and so really like to get more about this kind of field. Wonderful stuff to read and I am so delighted to find this valuable article that is amazingly. You can learn more about face mask, sports face mask, disposable masks, kn95 mask, neck gaiter, face shield mask, sun hat with face shield, hat with face cover, face protection.
Post a Comment