
I found pieces of cardboards that came from the packing in my quilt cover set. I had always thought that throwing away good pieces of solid cardboard boxes to be such a waste. I just hope I don't end up living amongst junk, which I think I will find some use for one day.
The tougher one (like those of carton boxes), I decided to use for the vertical bit of the hat, the flue. To enable me to bend it around easier and more evenly, I scored some lines. Once I rolled up the cardboard, Mimi (like all cats) decided to investigate the flue 'tunnel'.
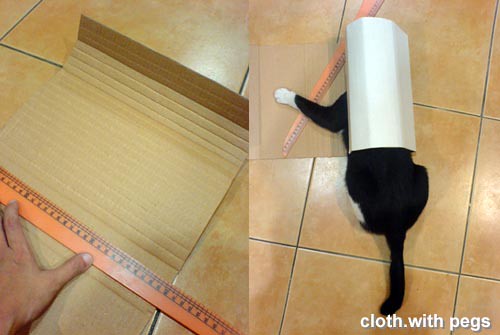 After removing the cat, I unrolled it and cut it down to the appropriate height. I allowed 15cm in height. And, cut.
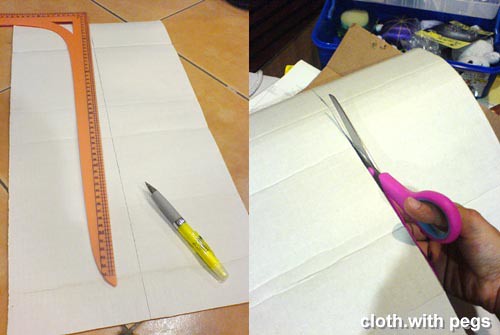 Then, I measured out the girth of Gette's head and cut off the excess cardboard, so I can tape both ends together. After with, I placed it over the cardboard, where I traced the circumference to cover the top of the hat.
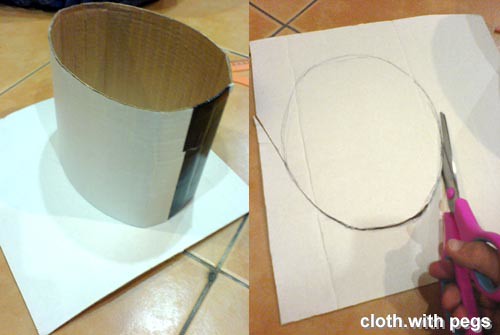 Putting it in place, I taped the top of the hat to the top of the flue. This also ensures that the hat holds it shape. To check, I placed it on Gette's head.
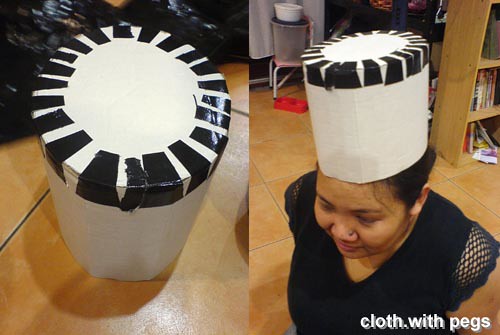 Here, I lightly sketched the brim on a thinner piece of cardboard. Almost a 10cm offset from the circumference of the flue. And to secure the brim to the flue, I offset an extra 3cm in the inner circumference, where I eventually cut it perpendicular to the circumference line in segmented flaps.
 Putting the brim in place, I folded those flaps back against the inside of the flue and taped it together.
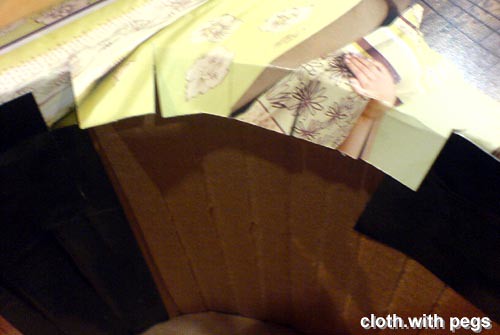
 Here is what it should look like before attaching the finishing touches in black felt.
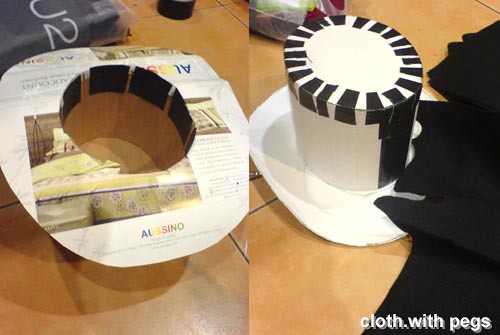 Now, I'm preparing the respective finishing pieces by tracing the outline over black felt with my white chalk.
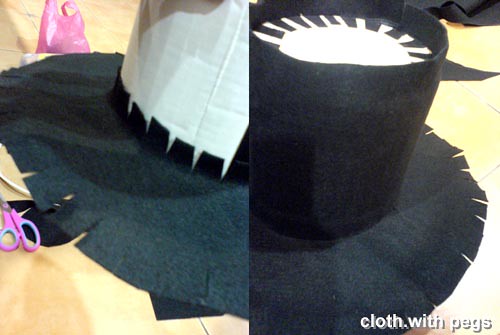
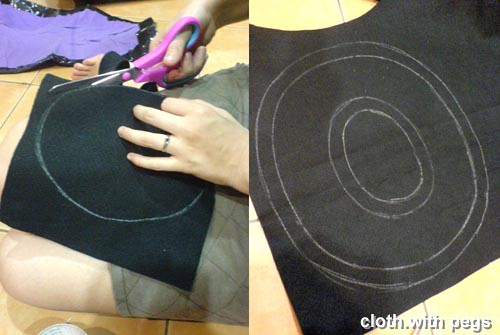 I attached the felt for the brim first. This piece has flaps on the inside and outside of the brim felt. This time, the segmented flaps for the inside are folded up against the flue on the outside, while the other flaps are folded over the underside of the brim.
After the upper brim felt, I glued the flue felt in place, over the flaps of the brim felt which were upturned. The extra on the top of the flue were cut into flaps as well, and folded inwards over the top of the hat. Then the top felt was glued in place, over the flaps.
 Flipping it upside down, I attached the final piece of the finishing felt for the underside of the brim.
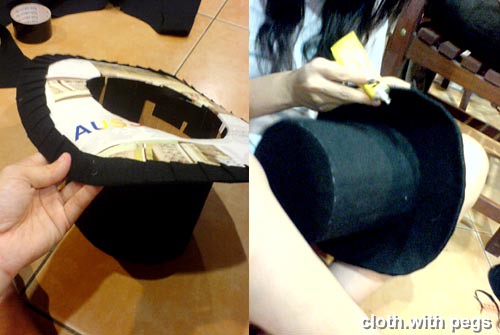 Molding it up to look the part, I rolled up the left & right side of the brim, to give it a slight curve. Here's the top hat with some 'garnish'. For the hatband, we used the tulle which was used as a wedding veil for Maggie's photo shoot. I tied the tulle into different styles to test the effect; long train, or short puffy.
 Here's Gette, modelling her top hat, with the short puffy and long train combo.
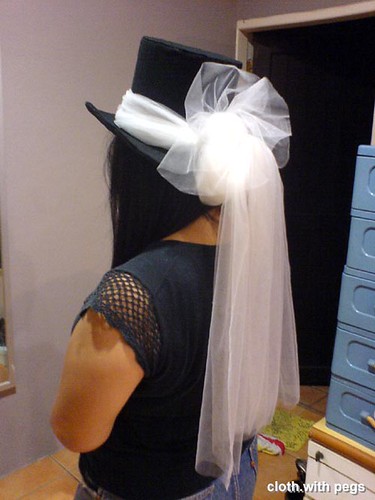 Note: Yes, I have a habit of calling embellishments and stuffs that pretty-up, as 'garnish'.
Update:
This entry was featured on Threadbanger on 04 September 2008! Yippee!!!
4 comments:
hey pegzoe. i clicked on the link from threadbanger! cool project i have a costume party coming up and i might make one! cool
from kugimudlo
Hi, I also clicked over from Threadbanger. I like the project thank you for the tutorial.
Thanks all! Yea, I was pleasantly surprised to see my blog featured on the Threadbanger episode of 5th Sept 08. YAY!
it is lovely do like it thanks for shareing
Post a Comment