Hubby said he was going camping and needed my help with sewing some new hammocks. I was more than excited. It had been a long time since I actually sewn new projects, other than just repairing clothing or bags.
He told me how he wanted it done. Showed me some of the other stuffs they had and asked me if I could do something similar. Roughly, this was what we did with the ripstop nylon fabric he bought. We cut it up into 2 panels of approximately 8'(L)x5'(W). At both ends, I had to allow enough sleeve room for them to hang up the hammock. Hubs thought about having this pouch sewn to the sides for keeping the hammock and also as a side pocket for when the hammock was being used.
I missed building models the most ... gosh, model kits nowadays are not cheap and time-consuming. I need a quick fix and also a cheaper alternative, for a Christmas diorama. Here's a site I always run to for fun & print at home paper craft ... Canon Creative Park
Amongst their Christmas Special Collection gallery, I downloaded this Santa Claus's House, printed it and was already working on it soon enough. One thing though, I printed this in half the size it was supposed to be so, everything worked out smaller than it should.
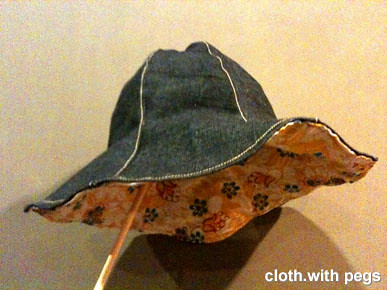
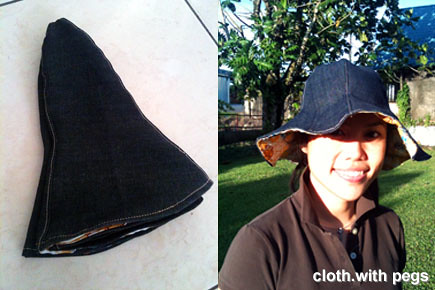
After the previous jeans bag project, I was already packing up my sewing corner, until I stumble upon a sewing magazine and got distracted. Browsing through the magazine, I was fascinated with the idea of having my own hand-made hat to travel with, plus it had quite easy and straight-forward instructions. So I unraveled my sewing gears and was on my way to a new hat. I ransacked around for fabric and decided on the leftover from my 'obi-belt' project and also loose scraps of denims that I had saved. There was only 1 pattern cut-out, to be reproduced in 6 panels for the insides and 6 again for the outside. Since this was supposed to be a reversible hat, both sides had to be neatly constructed. Well, I tried my best. It was so easy, I completed it in less than 1 hour. Tried another photo of the hat with uplighting from my bedside table lamp, for a better illustration of the fabric on the inside. There, the collapsible (easy for packing) and reversible hat. I tried it outdoors. The pattern came from the Spring Edition 2009 vol.30 of Cotton Friend (Japanese sewing/craft magazine)
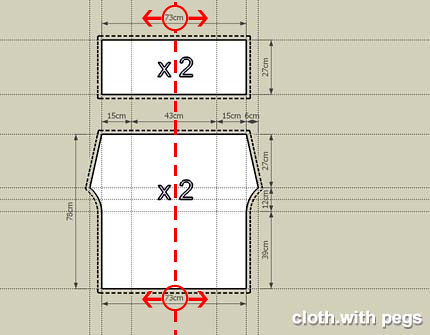
Dear Scott, I have also added a simpler pattern to the wrap pants under the post "Another Wrap Pants".
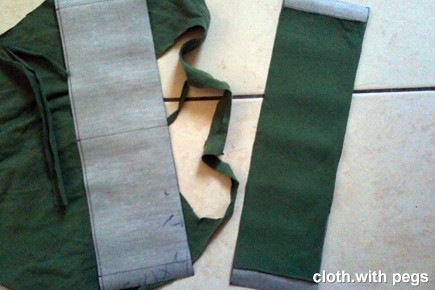
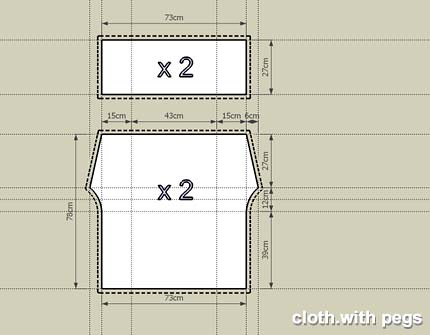
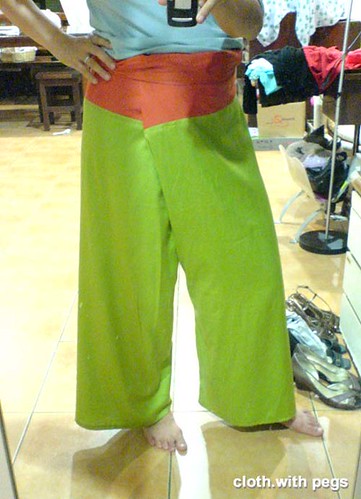
For bigger waistline, add from the middle outwards, i.e. red markings. A good guide would be to take the measurements from your current pair of wrap pants. 73cm is half of the waistline of my current pair which is 146cm. Therefore, if the waistline of your current pair is 180cm, then extend 73cm to 90cm. As for length, just extend the length of the pants legs, as indicated in blue. If you ended up overestimating the length, you can just hem it higher. You should also try lengthening the 'waistband' piece, i.e. instead of 27cm, try 35cm or even 40cm. You could always just fold them over, if it's too much.
After salivating over the thought of getting a new phone, I finally got myself an iPhone. With all the extra fabric I have, I have made a new phone pouch. Use fabric from part of old t-shirt, some leftover jeans fabric, ribbon and a bit of pvc leather. Most of them were odds & ends that I saved from previous projects.
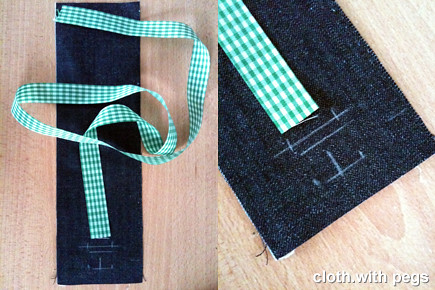
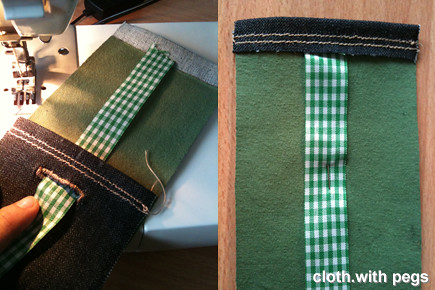
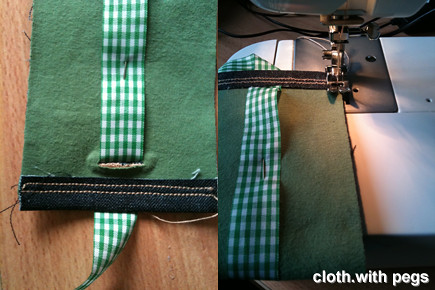
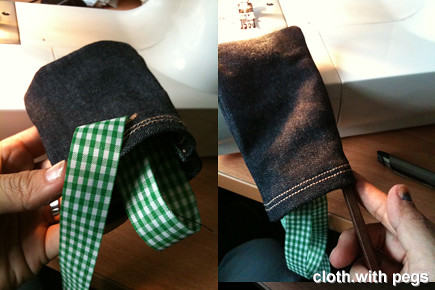
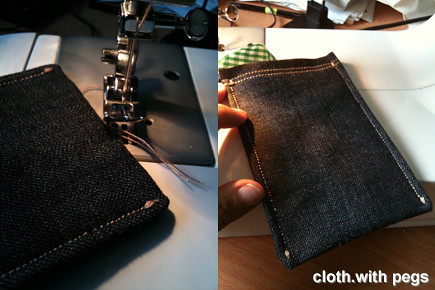
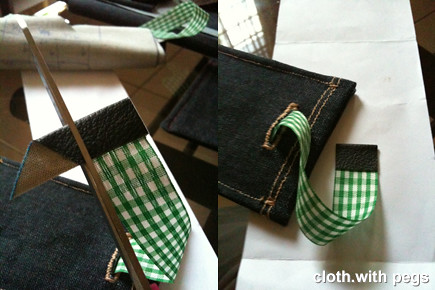
So, I started out with cutting out the outer fabric (jeans) with the template I prepared. (write me if u want the template with dimensions) Then I lightly glued it on the t-shirt material on the inside as lining, leaving about 1" at each end unlined, because I was going to fold it over and I don't need such a thick edge to hem. Before I head over to the sewing machine, I marked in opening I will need for the buttonhole, where I will slide the ribbon through. Now, this ribbon will help me pull/push the phone out of the pouch eventually. I offset the opening from the end of the fabric slightly over 2", in the middle and to the width of the ribbon.Now the sewing. I folded over one of the 1" ends, not lined with the t-shirt fabric, and sewed 2 straight stitch. And proceeded to making the buttonhole. Stringing the ribbon through the buttonhole, I pulled it to the other end, which was not hemmed yet. Folded over the 1" end and sewed 2 straight stitches across with the ribbon inserted in the middle. You may also noticed the pin that held the ribbon in place. I stretched the ribbon along the length of the fabric and pinned it down, all the way from the fixed end to the button hole. Then I halfed it with the insides (t-shirt lining) facing outwards, and sewed straight stitch down both sides.And flipped it inside out, revealing the jeans fabric. I usually use chopsticks to push out the corners. At this point, I sewed straight stitches along both sides, to secure it. I sometimes backstitch at the end of a straight stitch but I prefer sewing over one point using the function that stitches the ends of the buttonhole, because it's much neater. See the detail at below.Since I didn't want the ribbon to stick out too much, I put the phone in all the way which pushed the ribbon all the way to the bottom, just to make sure. And cut off the access just at the rim of the opening. Then, I attached a halfed pvc leather at the end of the ribbon. This will be the finger pull part.I trimmed off the access pvc leather after the adhesive had dried.Finally, completed. Picture of phone pulled out of the pouch; and picture of ribbon when phone is tucked in. I think this is a very simple pouch to make and can be applied to any phone, pda, etc. Simple satisfaction from own handmade goodness!
The lastest fashion accessory : The Face Mask. It's hitting the streets and jet-setters alike ...
It is definitely not fun in these times of H1N1, with confirmed cases hitting our shores in Sarawak. I have made some fancy mask cover to protect my surgical mask that had been distributed. Below is a set of very basic instruction if you want to make your own.
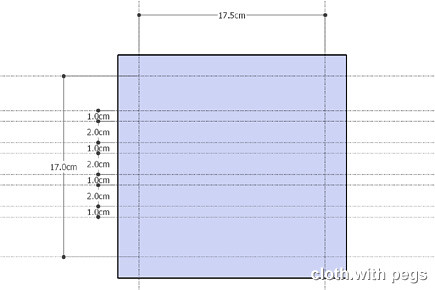
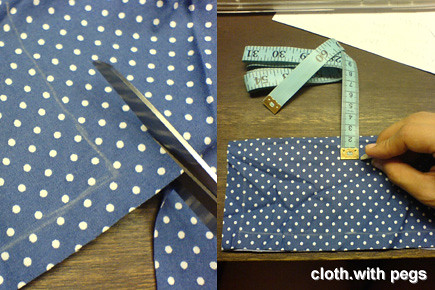
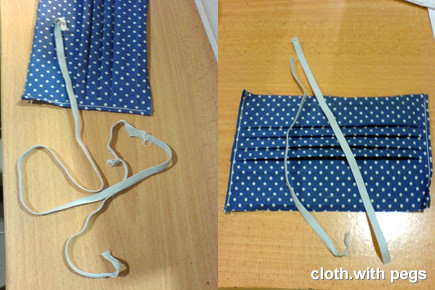
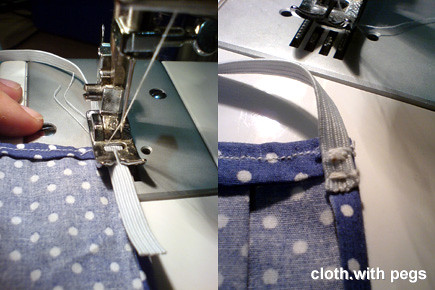
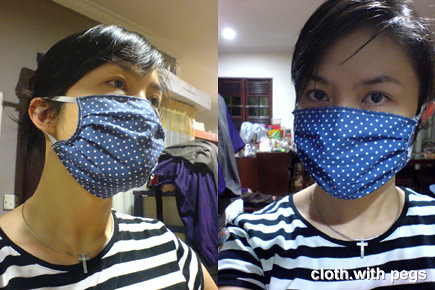
I took out a surgical mask for dimensions, to ensure it fits. I used some leftover fabrics that I have been saving. These were my mask dimensions; 17.5cm x 17cm , with 2cm seam allowance. I also marked out the folds. Cut out the fabric as marked and continued marking the middle folds before ironing it down.Here, folds ironed in place, as marked. And a detail shot. Folds of 1cm (underside) and 2cm (overside). I sewed a straight stitch along both sides to hold the folds in place, before hemming it inwards. Now, I took out a recycled rubber band (that I have been saving up too), measured the length according to the bands on the surgical mask and cut out 2 strips.I sewed it into the top seam allowance and the bottom seam allowance (on the same side). Cut of excess and repeat for the other side. After with, I hemmed the top seam allowance inwards to cover over the band, and repeat for the bottom seam allowance.Done. Placed it over my face (above the nose) and pulled the bottom bit downwards to achieve maximum coverage. It can be stretched all the way down to my neck. For extra precaution, wear the surgical mask underneath this mask.Honestly, its not only for your own protection, but it is also considered polite to wear this if you are having flu/cold. For more info about facemasks & respirators, read here.
I made some modifications to my earlier wrap pants pattern. A much simplified version, with less pieces. From 8 pieces to 4 pieces. Steps: 1) Red & Orange - sew the reds together, and the oranges together. Both of the same piece. 2) Green & Blue - sew the green on one piece to the green on the other piece. And repeat for the blue. At this point you'll have the legs. 3) Cyan & Magenta - sew the cyan on one piece to the cyan on the other piece. And repeat for the magenta, until it becomes a loop. 4) Yellow - attach the top piece to the bottom, all along the yellow line.This time, I tried it with separate colored cotton silks, and this is for Irene. (fabric F&G from Fabric Galore entry)