Monday, September 8, 2008

Ottoman Makeover : Redux

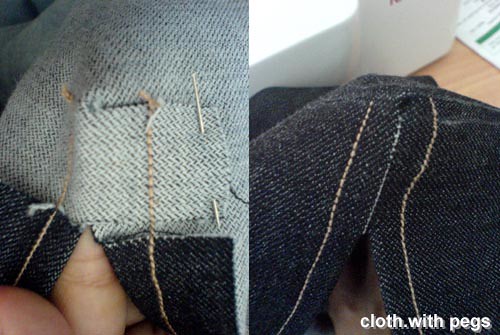
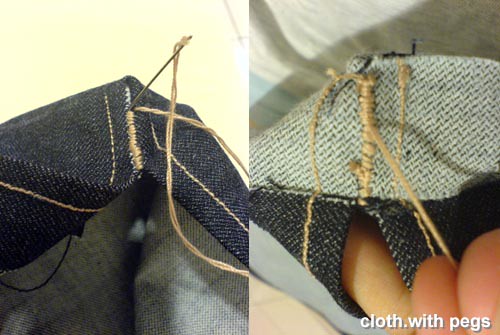
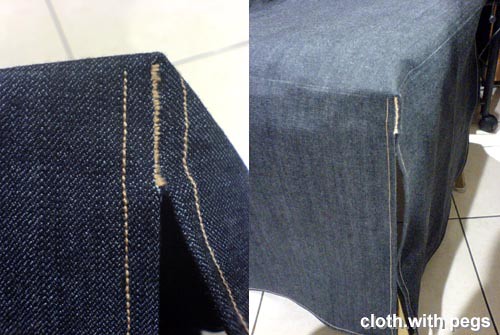
The flaps on the sides of the ottoman cover from the Ottoman Makeover project were not secured in place, so still revealing the original PVC cover underneath it. So, I fixed this problem by making flaps for the inside, around the corners. I attached the new inner flaps to both sides of one outer flap, and the other one on the opposite side.

The existing flaps without the new inner flaps were for the button holes. 3 down both sides (therefore a total of 6 button holes on one side), and then 6 more on the opposite side. Sewed the buttons on and voila ...

Tuesday, September 2, 2008

Roman Ruins : Part 2 - MAXIMUS TESTOSTERUS

Maximus is a renowned military commander - a master of warfare. His battles against the Gauls are already becoming legend. He has little use for such intellectual conceits as trickery and delicate subterfuge, but instead has built his reputation on bold, head-on attacks. With Mars, the god of war, fighting on his side, his armies crash through enemy ranks like a massive fist, flattening everything in sight. He is proud, with a no-nonsense personality, rugged good looks and a truly intimidating physique.
[extracted from character description in the Guest List]
Costume Suggestion: Orange tunic with armor breastplate and centurion helmet.

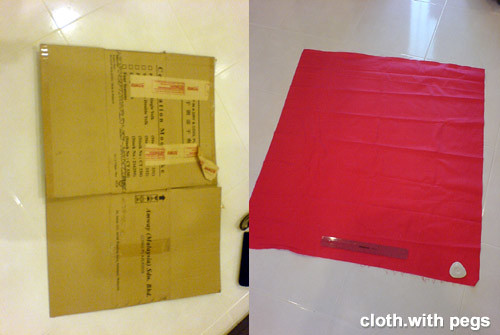
Okay, mine's not exactly orange and there is no centurion helmet. May get to make it some day. But for now, I did the following from cardboard box for the breastplate and red cloth for the 'skirt'. I figured that any red t-shirt should suffice for the top.


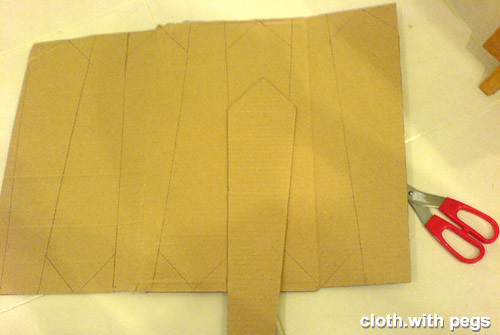
Freehand-sketched the breastplate and cut 2 pieces. I painted the 'abs' on later with brown postercolor paint.
Drew and trace multiple flaps for lower part. And cut.Making a loop over the top narrower end allows it to be stringed onto a belt. Piece of cardboard for the loops were stapled in place.

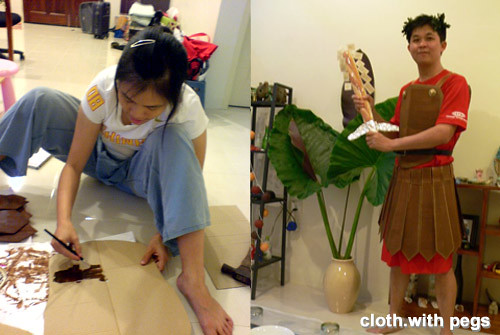
After all the components are in place, we painted it. For a touch of glamour, I drew on the trims with a gold paint pen.

The red tunic under, was actually made of the red cloth. I just sewed it into a 'sarong' (wrap skirt).

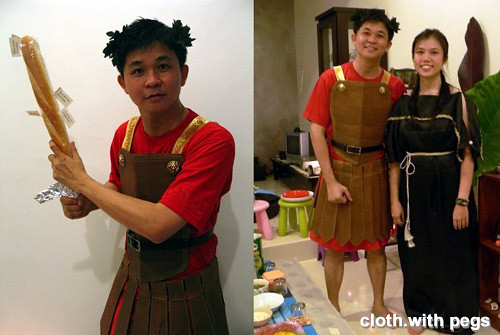
No pictures to show the process, but I attached the front and the back breastplate pieces with 2 gold/red colored straps. Later I added the gold lion-faced (gaudish) buttons on the front breastplate. The front and the back pieces were held in place with another belt.
And instead of the centurion helmet, I just gave him a laurel leaf head band.
(seeing the friend in the above picture, we probably have to scrap the "He is proud, with a no-nonsense personality, rugged good looks and a truly intimidating physique" part)

For earlier posts related to my Roman Murder Mystery Costumes Project, please refer to the following links:

Roman Ruins : Prologue

- Introduction my Roman Murder Mystery Costumes Project.

Roman Ruins : Part 1 - MERCEDES ACCELLERATTI

- A rough guide to the construction of a ladies tunic.

Thursday, August 14, 2008

Steampunk Gette - Top Hat

What initially started out as a Victorian Trash fashion shoot, is now inching towards the Steampunk movement. So to top it off (forgive the pun), we made a top hat.
I found pieces of cardboards that came from the packing in my quilt cover set. I had always thought that throwing away good pieces of solid cardboard boxes to be such a waste. I just hope I don't end up living amongst junk, which I think I will find some use for one day.
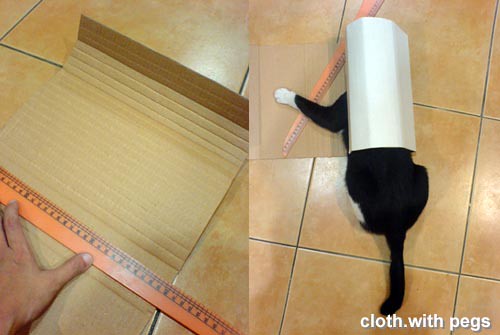
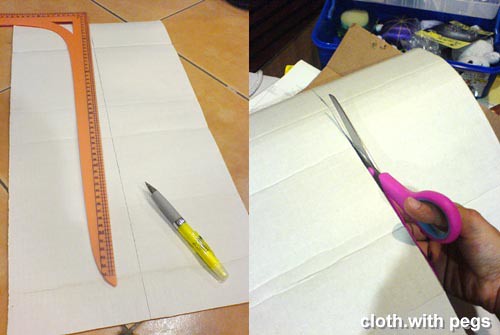
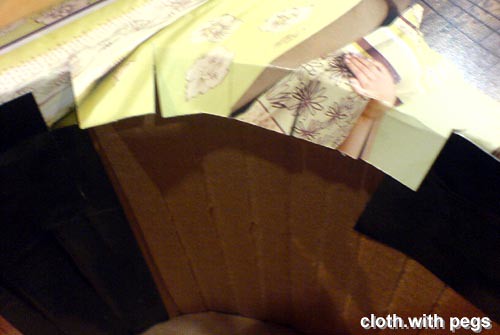
The tougher one (like those of carton boxes), I decided to use for the vertical bit of the hat, the flue. To enable me to bend it around easier and more evenly, I scored some lines. Once I rolled up the cardboard, Mimi (like all cats) decided to investigate the flue 'tunnel'. After removing the cat, I unrolled it and cut it down to the appropriate height. I allowed 15cm in height. And, cut.
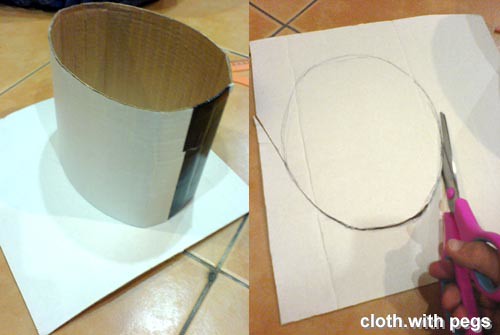
Then, I measured out the girth of Gette's head and cut off the excess cardboard, so I can tape both ends together. After with, I placed it over the cardboard, where I traced the circumference to cover the top of the hat.
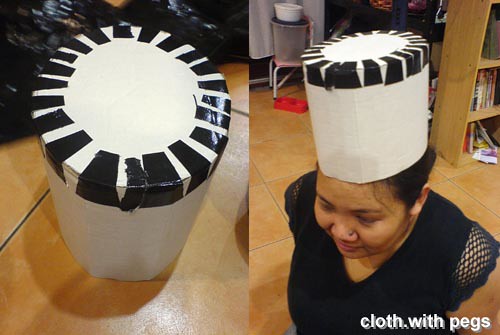
Putting it in place, I taped the top of the hat to the top of the flue. This also ensures that the hat holds it shape. To check, I placed it on Gette's head.
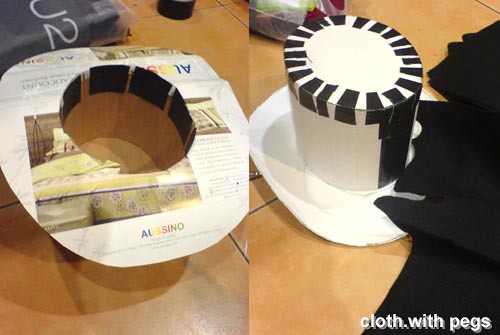
Here, I lightly sketched the brim on a thinner piece of cardboard. Almost a 10cm offset from the circumference of the flue. And to secure the brim to the flue, I offset an extra 3cm in the inner circumference, where I eventually cut it perpendicular to the circumference line in segmented flaps.
Putting the brim in place, I folded those flaps back against the inside of the flue and taped it together.Here is what it should look like before attaching the finishing touches in black felt.
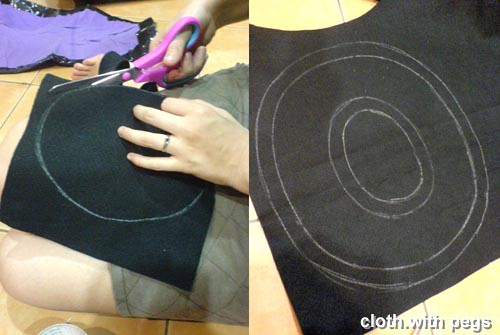
Now, I'm preparing the respective finishing pieces by tracing the outline over black felt with my white chalk.
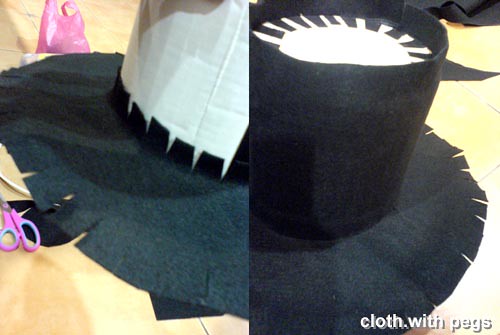
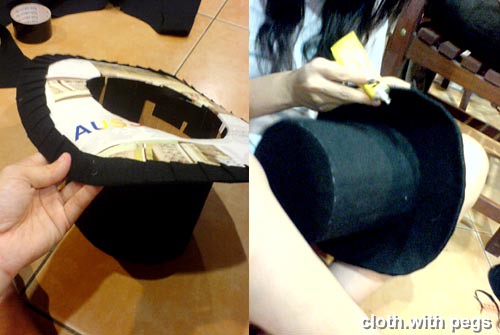
I attached the felt for the brim first. This piece has flaps on the inside and outside of the brim felt. This time, the segmented flaps for the inside are folded up against the flue on the outside, while the other flaps are folded over the underside of the brim.
After the upper brim felt, I glued the flue felt in place, over the flaps of the brim felt which were upturned. The extra on the top of the flue were cut into flaps as well, and folded inwards over the top of the hat. Then the top felt was glued in place, over the flaps.
Flipping it upside down, I attached the final piece of the finishing felt for the underside of the brim.
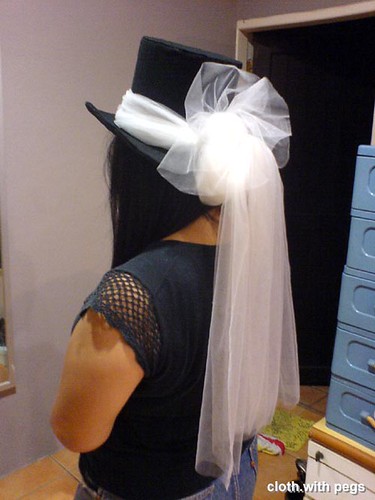
Molding it up to look the part, I rolled up the left & right side of the brim, to give it a slight curve. Here's the top hat with some 'garnish'. For the hatband, we used the tulle which was used as a wedding veil for Maggie's photo shoot. I tied the tulle into different styles to test the effect; long train, or short puffy.
Here's Gette, modelling her top hat, with the short puffy and long train combo.
Note: Yes, I have a habit of calling embellishments and stuffs that pretty-up, as 'garnish'.

Update:
This entry was featured on Threadbanger on 04 September 2008! Yippee!!!

Tuesday, August 12, 2008

Ottoman Makeover

Aline has another piece of furniture in her house that needs a makeover. Since we have leftover fabric from the beanbag project, we decided to use it to make a new cover for her ottoman. She gave me the dimensions of this ottoman, which was 15"(W) x 15"(L) x 14"(H)
I laid out the fabric and started marking away the dimensions with extra 1" for overlaps. And, cut.
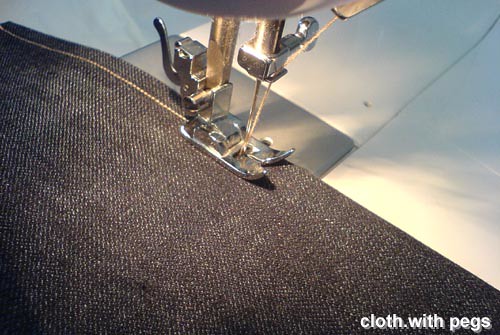
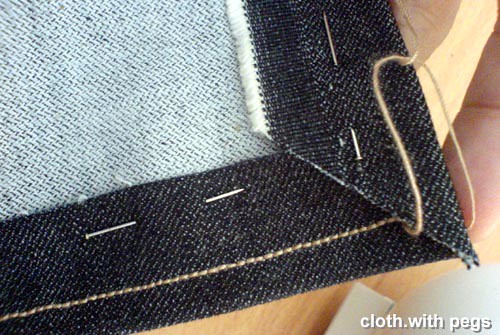
And, hemmed.As for the bottom corners, I nipped of the corners diagonally, so I can fold them in and sew a neat corner.After hemming the edges, I sewed a niche for the cover to sit properly over the ottoman, and finished of the exposed edges by close stitches.Like every makeover projects, here's the before and after picture.

Monday, August 11, 2008

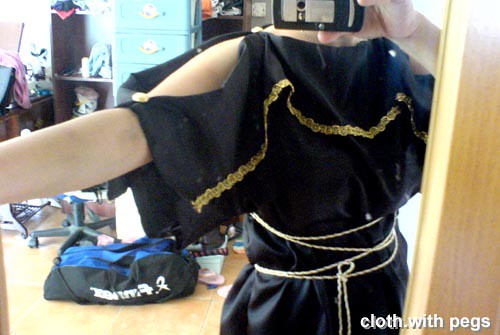
Roman Ruins : Part 1 - MERCEDES ACCELLERATTI

Mercedes is Flabbius Corpus' ravishing wife. Not since Paris fell for Helen of Troy has one woman made such an impact on one man. She is the driving force and inspiration behind the great poet's work. Friends call her a "daughter of Bacchus" (the god of revelry), for she loves the fast, wild life and throws lavish parties at every opportunity. She can often be seen tearing around in her four horse-powered chariot. Mercedes is a free-spirit with strong opinions and a flighty personality. She has also been gifted by all the muses - particularly the muse of interior decorating. Her home is a gallery of fabulous objects from all corners of the empire, including several priceless sculptures.
[extracted from character description in the Guest List]
Costume Suggestion: Long, glamorous black tunic accented with a lot jewelry.