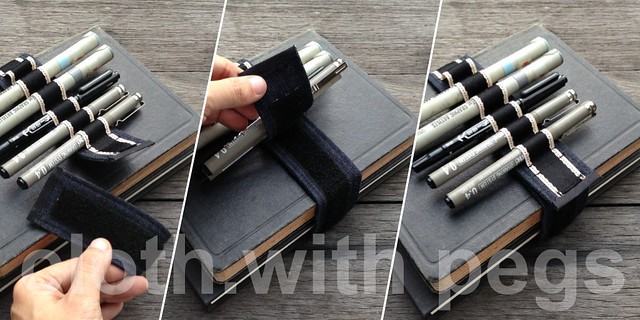
I took this idea from 'cleverhands' at Etsy, because I found it hard to keep all my pens in place whenever I go sketching. And since I sew, I decided to give it a go.
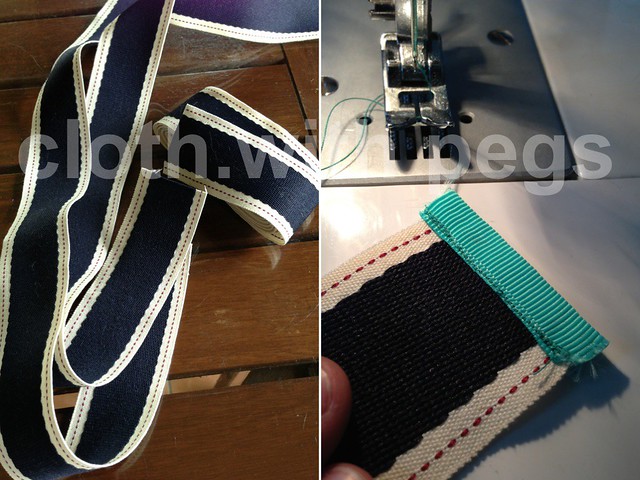
I dug into my stash and found these ribbons I bought from one of my trips. Time to put them to use now. I sealed the ends with the same grosgrain ribbon I was going to use for the pen sleeves.
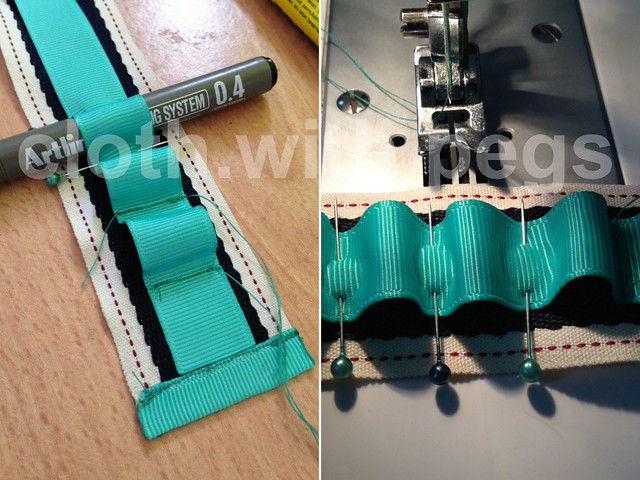
I just used my standard pens to mark the loops with pins for the pen sleeves.
The velcro tapes I used came with quite strong adhesive backing.
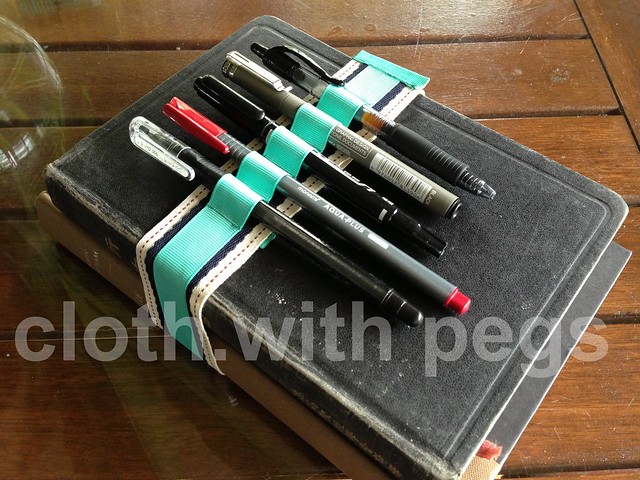
I didn't have a standard length to the strap. I just made one to carry about 2 books and 5 assorted pens with me. So, with different requirements, the length of the strap could vary from for 1 book all the way to for a stack of 5 books, or more. Then again, if it should be any more, you need a bag.
In another attempt, I made straps instead of using ribbons for the strap.
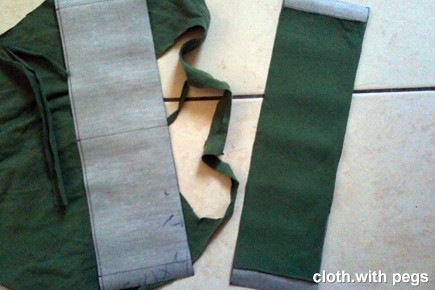
So, this was the other strap I made. It seemed sturdier because of the double-layered fabric.
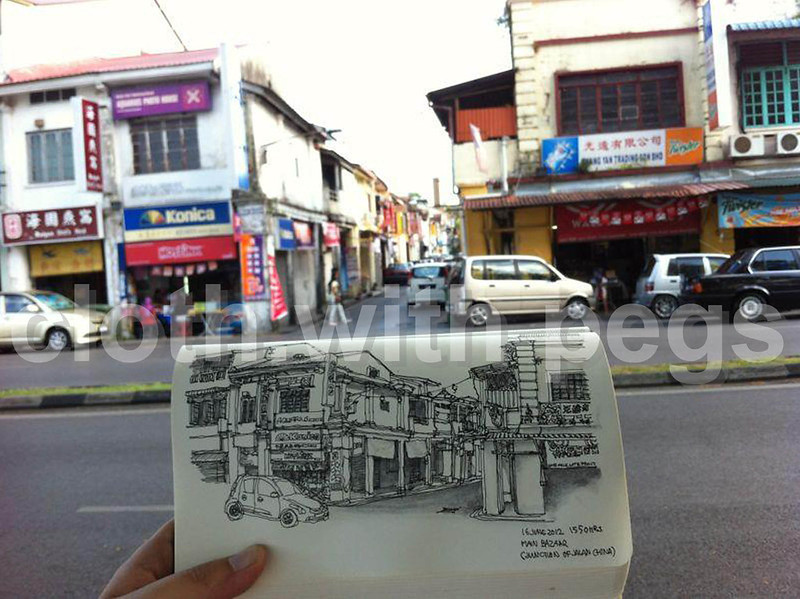
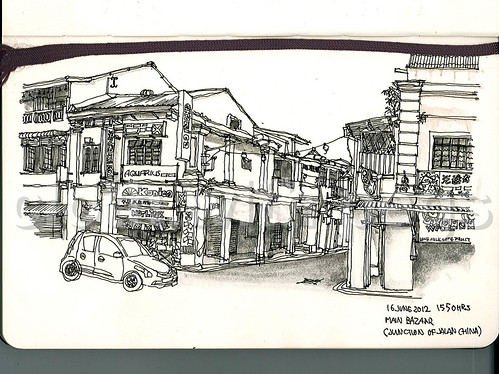
Went urban-sketching with Ms Yeo & Lee again. This time at Main Bazaar. It's a sun-shiny day, but we found nice shady spots under the trees along the Waterfront.
Last weekend, Ms Yeo, Lee & I went sketching in one of my favourite places ... Kenyalang Park Shopping Centre. I always go there for my crafting supplies, costuming supplies, junk food, supplies of box sets, etc. But, this trip is purely sketching ... no shopping. Mine ...
A lot of Kuching folks grew up going to the Sunday Market at Satok for fresh produce, like fruits, vegetables, local produce, meat, seafood; all the way to daily sundry, pets, plants and flowers. It's full of life, color, smell and flavor. Azie initiated that we should capture the Sunday Market before it is moved, and so we did on 28 March 2012, with some close sketching buddies.
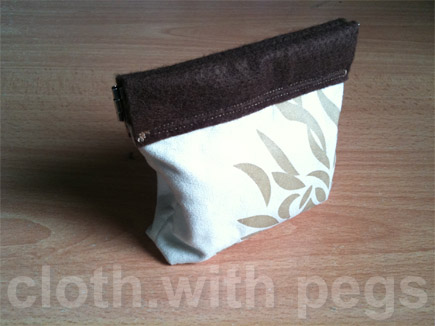
Digging through my pile of crafting stock, I found that leftover microfiber fabric from my Couch Makeover project, some felt and spring frames I bought from Daiso. So, I decided to put it all together for a pouch. I was supposed to make pouches/containers for all the small loose items on my desk anyways.
This is another quick project for a friend who approached me to help with her niece's veil for her First Holy Communion. It was basically putting 2 existing items together; a recycled flower girls headband, and about 1m x 1m of soft white tulle.
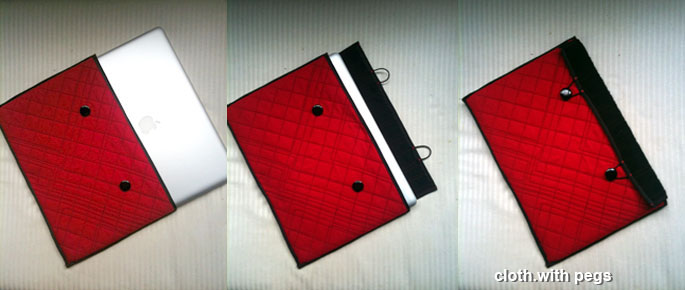
I said goodbye to my 17" Compaq laptop & my backup harddisk (along with 5 years of my digital life), when my Loewe laptop bag was stolen from my car last Tuesday 12 April 2011 ... :'( sadness to the max!
It's a fresh start now, with my 15" MacBook Pro ... :) ... time to build new memories & projects!
I made a new jacket for my new appendage in an auspicious color ... RED!
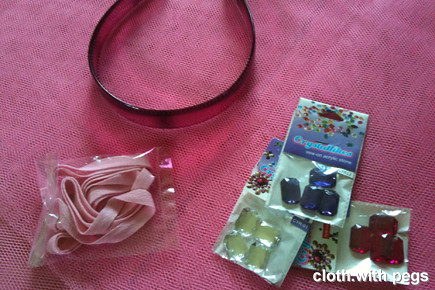
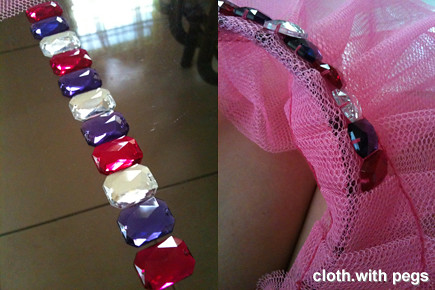
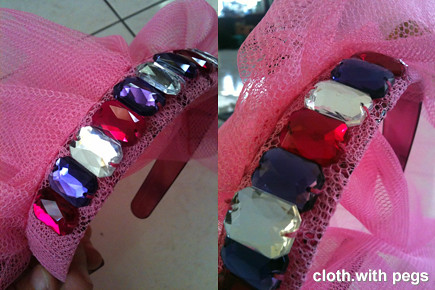
Yes, it's another pink-colored project! This were the ingredients Belinda and I put together from the craft store this morning at Kenyalang Park. The hairband was from the jewellery and accessories store.
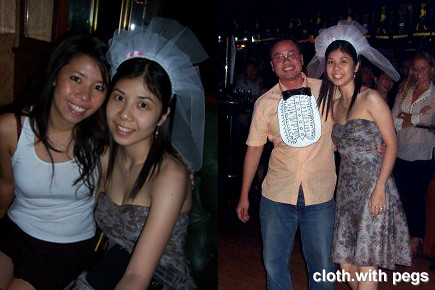
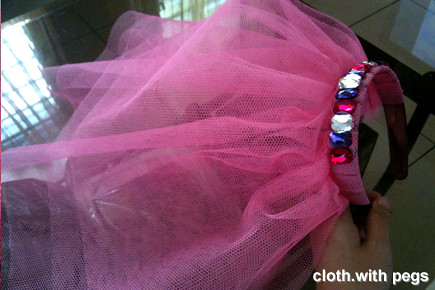
This went back 4 years ago (2006), when I made a veil for my sister's hen's night. She married the guy with the bib which I made too. Sarah's her best friend/bridesmaid. And now, it's Belinda's sister's turn to get hitched. So we are throwing her a hen's night. I started working on the veil, when I got home with the materials. Cut 2 pieces of 30"x30" pink tulle and lay them parallel with 2" distance from the edges. This will define the layers of the veil from the back
.
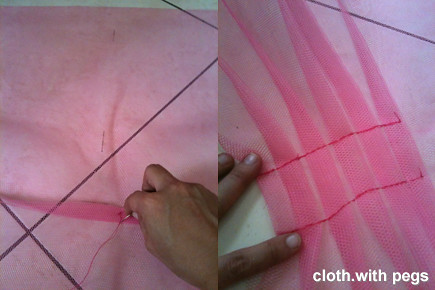
Then from the middle, I pleated the tulle in by strips of 1" and used pins to hold them in place when I sewed them down. I did 2lines of backstitching at the distance of double the headband thickness (you'll see why later). And I repeated the same on the other half. When you refer to the picture below, you'll see that the tulle are folded over the headband where the 2 lines of backstitching will meet up. I'll use this as a guide to secure the tulle onto the headband. Garnish. Belinda selected wonderful colored (fake) gemstones. I lined them out first before deciding on the best composition, and then sewing them onto the tulle. After that, I returned the tulle, with the gemstones all sewn on, to the headband. Folded it over and hand-stitched the tulle to the headband following the backstitching. And ... voila! Everything secured in place without glue! So that parts can be recycled for other purposes/projects, if need to, eventually. Are you ready, Audrey? ;)
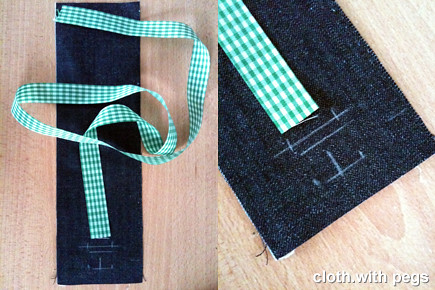
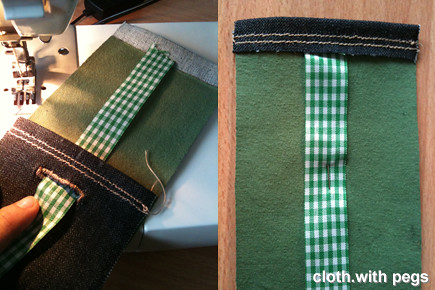
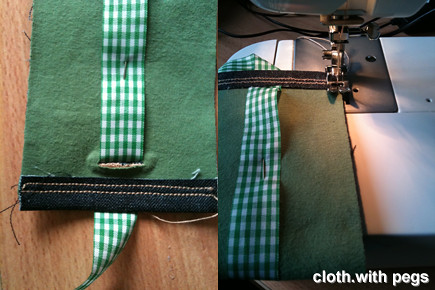
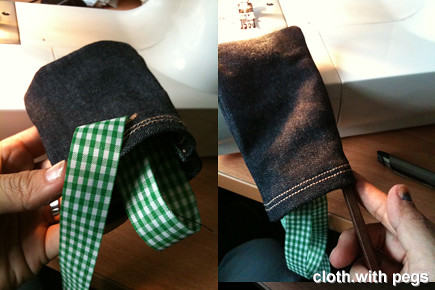
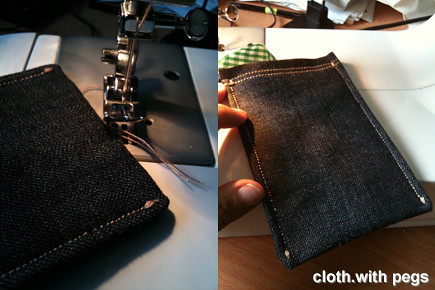
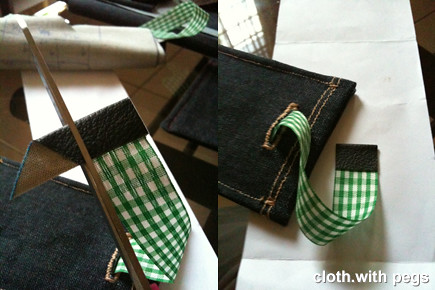
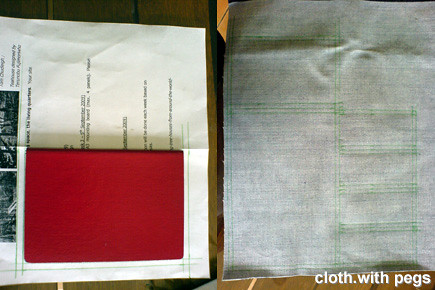
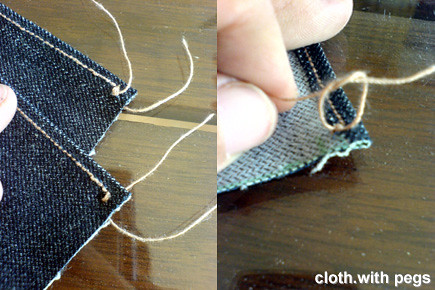
After salivating over the thought of getting a new phone, I finally got myself an iPhone. With all the extra fabric I have, I have made a new phone pouch. Use fabric from part of old t-shirt, some leftover jeans fabric, ribbon and a bit of pvc leather. Most of them were odds & ends that I saved from previous projects.
So, I started out with cutting out the outer fabric (jeans) with the template I prepared. (write me if u want the template with dimensions) Then I lightly glued it on the t-shirt material on the inside as lining, leaving about 1" at each end unlined, because I was going to fold it over and I don't need such a thick edge to hem. Before I head over to the sewing machine, I marked in opening I will need for the buttonhole, where I will slide the ribbon through. Now, this ribbon will help me pull/push the phone out of the pouch eventually. I offset the opening from the end of the fabric slightly over 2", in the middle and to the width of the ribbon.Now the sewing. I folded over one of the 1" ends, not lined with the t-shirt fabric, and sewed 2 straight stitch. And proceeded to making the buttonhole. Stringing the ribbon through the buttonhole, I pulled it to the other end, which was not hemmed yet. Folded over the 1" end and sewed 2 straight stitches across with the ribbon inserted in the middle. You may also noticed the pin that held the ribbon in place. I stretched the ribbon along the length of the fabric and pinned it down, all the way from the fixed end to the button hole. Then I halfed it with the insides (t-shirt lining) facing outwards, and sewed straight stitch down both sides.And flipped it inside out, revealing the jeans fabric. I usually use chopsticks to push out the corners. At this point, I sewed straight stitches along both sides, to secure it. I sometimes backstitch at the end of a straight stitch but I prefer sewing over one point using the function that stitches the ends of the buttonhole, because it's much neater. See the detail at below.Since I didn't want the ribbon to stick out too much, I put the phone in all the way which pushed the ribbon all the way to the bottom, just to make sure. And cut off the access just at the rim of the opening. Then, I attached a halfed pvc leather at the end of the ribbon. This will be the finger pull part.I trimmed off the access pvc leather after the adhesive had dried.Finally, completed. Picture of phone pulled out of the pouch; and picture of ribbon when phone is tucked in. I think this is a very simple pouch to make and can be applied to any phone, pda, etc. Simple satisfaction from own handmade goodness!
Major development in my life. A lot moving-ons and going-aways. Finally, I will be able to do some travelling. All those blank pages will finally get to see some ink! And, I'm getting it dressed for success!!
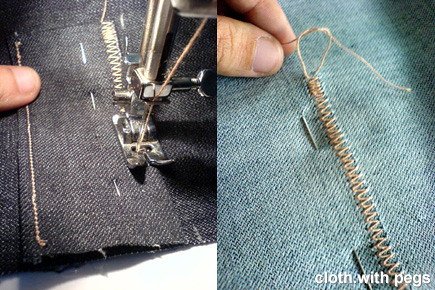
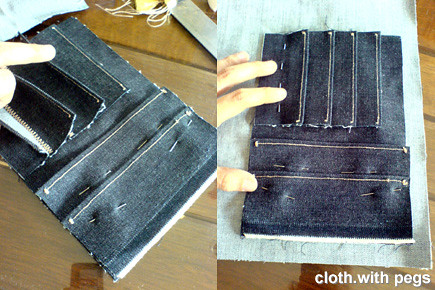
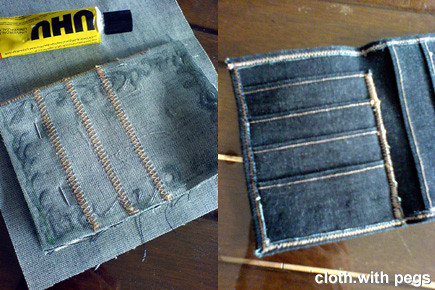
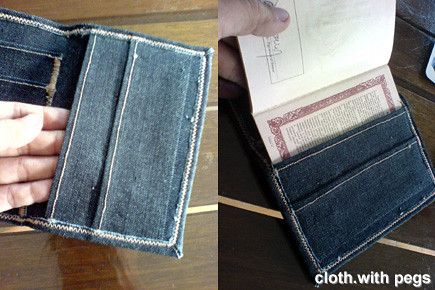
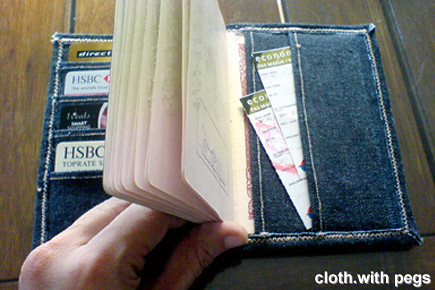
I took out my passport and sketched out some basic patterns for a passport holder, which includes some card pockets and a slot for the back cover of the passport. (will share the pattern upon request) Traced it onto some jeans fabric, and cut. Hemmed the top edges for the pockets. At this point, I knotted the loose threads at the back, for all the pockets.I laid out the card pockets to be equally spaced and after I pinned it in place, I zig-zag stitched the bottom of the pockets, starting with the top pocket. Then, turning it over and knotted the loose thread at the back also. And, repeated the same for the remaining card pockets, top down.With the card pockets all sewn in place, I moved on to the slot for the back cover of the passport. I also added a shallower pocket for smaller items, like boarding passes (maybe). I pinned all the pieces in place, and laid it over the jeans fabric to mark out the holder's cover. I roughly cut it out with about 1 inch seam allowance on all sides. Before attaching the cover, I zig-zag stitched the sides of the card pockets, which will kinda form the spine of the holder. Ok, I cheated abit. I used glue. At least it held the edges of inner bit and the cover together ... for me to hem it all around, in zig-zag stitch. And, cut off the excess fabric. I usually add a bit of glue along the edges so it will not fray. (just be careful, it can get messy)The back cover slot was a snug fit!!! Perfect!!! (I take it as a good omen) Ok, with all the cards & props.Now, who's ready for a over-due getaway? ME!!!
The lastest fashion accessory : The Face Mask. It's hitting the streets and jet-setters alike ...
It is definitely not fun in these times of H1N1, with confirmed cases hitting our shores in Sarawak. I have made some fancy mask cover to protect my surgical mask that had been distributed. Below is a set of very basic instruction if you want to make your own.
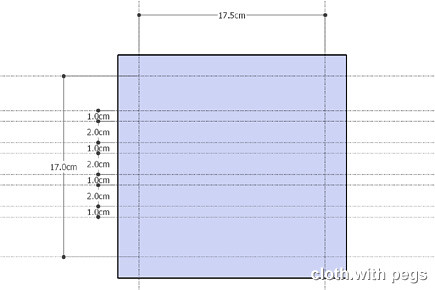
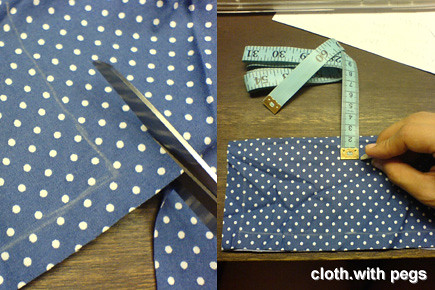
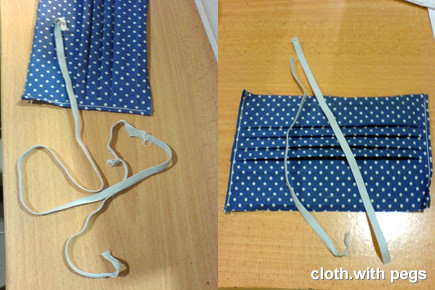
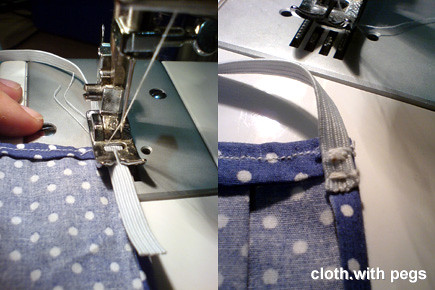
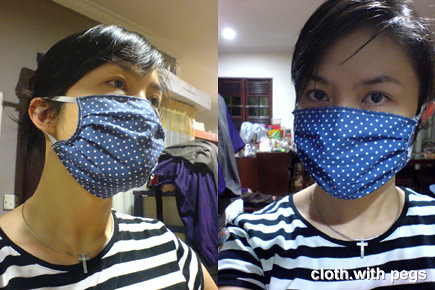
I took out a surgical mask for dimensions, to ensure it fits. I used some leftover fabrics that I have been saving. These were my mask dimensions; 17.5cm x 17cm , with 2cm seam allowance. I also marked out the folds. Cut out the fabric as marked and continued marking the middle folds before ironing it down.Here, folds ironed in place, as marked. And a detail shot. Folds of 1cm (underside) and 2cm (overside). I sewed a straight stitch along both sides to hold the folds in place, before hemming it inwards. Now, I took out a recycled rubber band (that I have been saving up too), measured the length according to the bands on the surgical mask and cut out 2 strips.I sewed it into the top seam allowance and the bottom seam allowance (on the same side). Cut of excess and repeat for the other side. After with, I hemmed the top seam allowance inwards to cover over the band, and repeat for the bottom seam allowance.Done. Placed it over my face (above the nose) and pulled the bottom bit downwards to achieve maximum coverage. It can be stretched all the way down to my neck. For extra precaution, wear the surgical mask underneath this mask.Honestly, its not only for your own protection, but it is also considered polite to wear this if you are having flu/cold. For more info about facemasks & respirators, read here.