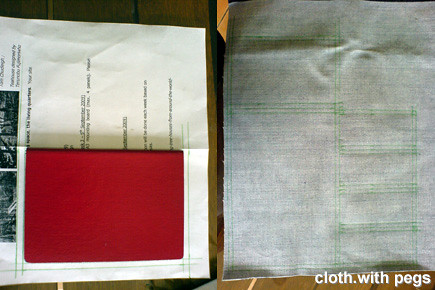
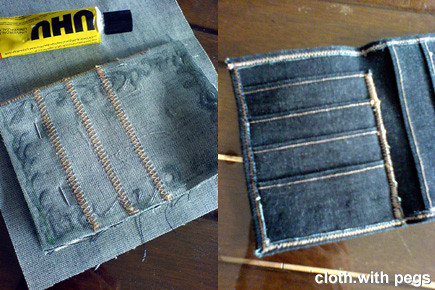
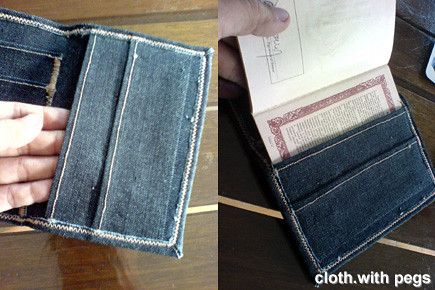
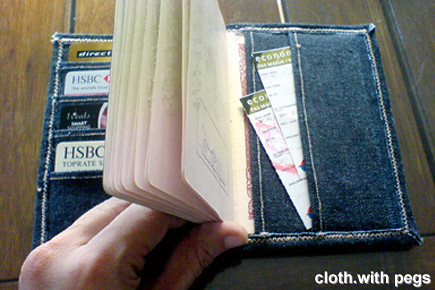
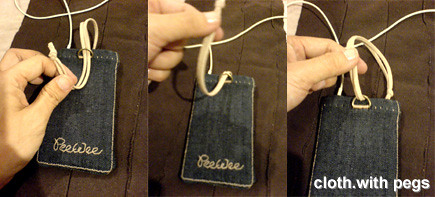
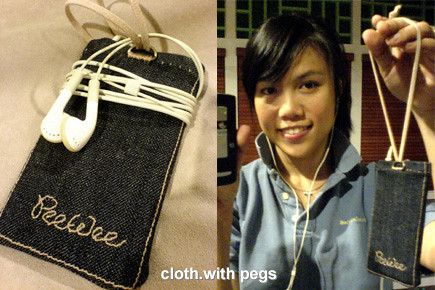
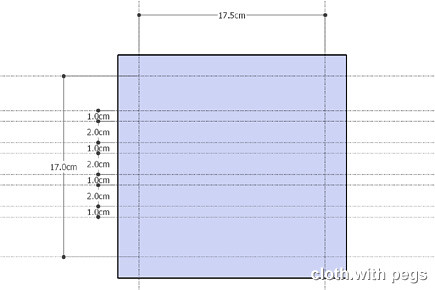
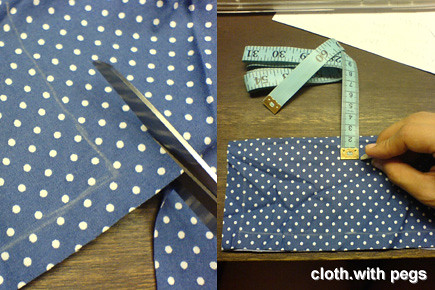
So, I started out with cutting out the outer fabric (jeans) with the template I prepared. (write me if u want the template with dimensions) Then I lightly glued it on the t-shirt material on the inside as lining, leaving about 1" at each end unlined, because I was going to fold it over and I don't need such a thick edge to hem.
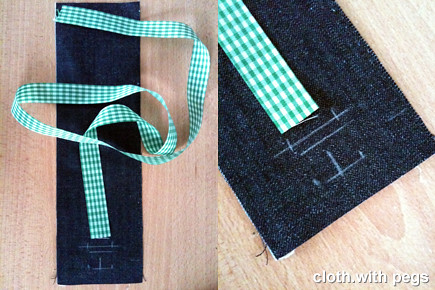
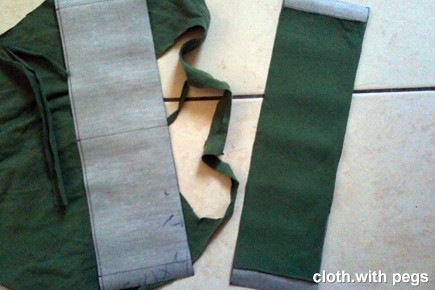 Before I head over to the sewing machine, I marked in opening I will need for the buttonhole, where I will slide the ribbon through. Now, this ribbon will help me pull/push the phone out of the pouch eventually. I offset the opening from the end of the fabric slightly over 2", in the middle and to the width of the ribbon.
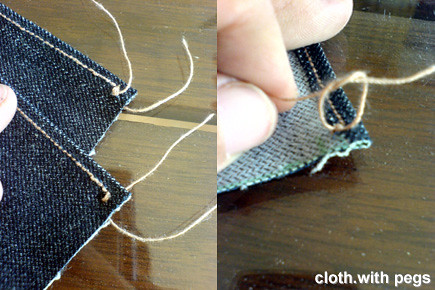
 Now the sewing. I folded over one of the 1" ends, not lined with the t-shirt fabric, and sewed 2 straight stitch. And proceeded to making the buttonhole.
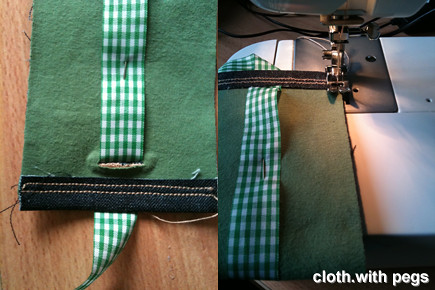
  Stringing the ribbon through the buttonhole, I pulled it to the other end, which was not hemmed yet. Folded over the 1" end and sewed 2 straight stitches across with the ribbon inserted in the middle.
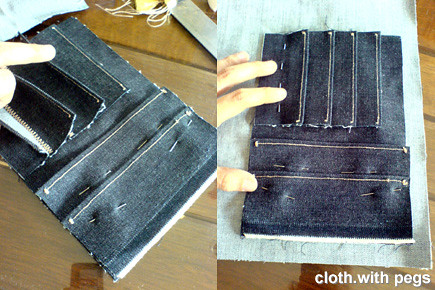
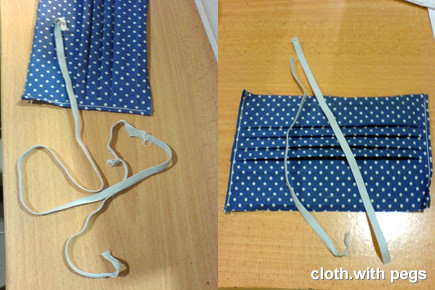
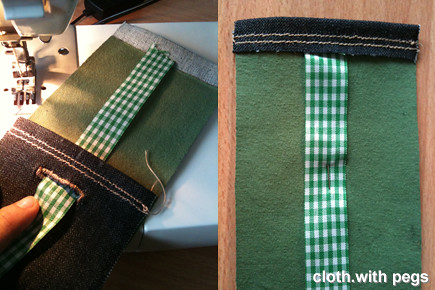 You may also noticed the pin that held the ribbon in place. I stretched the ribbon along the length of the fabric and pinned it down, all the way from the fixed end to the button hole. Then I halfed it with the insides (t-shirt lining) facing outwards, and sewed straight stitch down both sides.
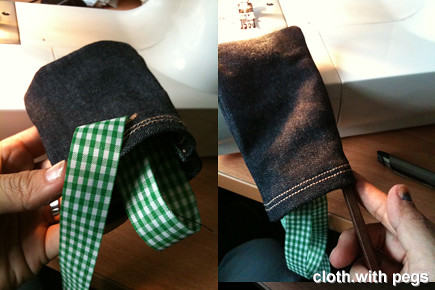
 And flipped it inside out, revealing the jeans fabric. I usually use chopsticks to push out the corners.
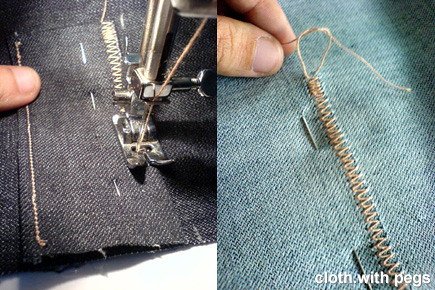
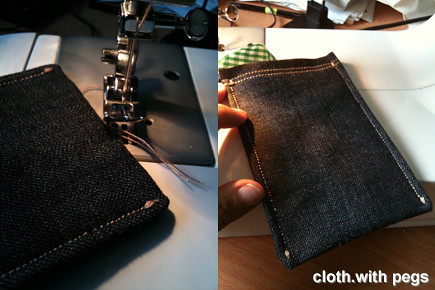
 At this point, I sewed straight stitches along both sides, to secure it. I sometimes backstitch at the end of a straight stitch but I prefer sewing over one point using the function that stitches the ends of the buttonhole, because it's much neater. See the detail at below.
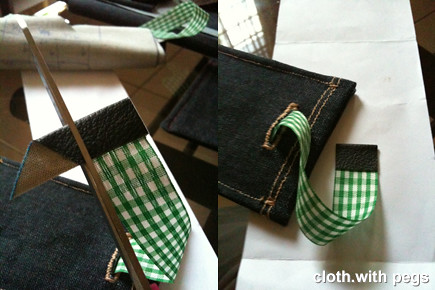
 Since I didn't want the ribbon to stick out too much, I put the phone in all the way which pushed the ribbon all the way to the bottom, just to make sure. And cut off the access just at the rim of the opening. Then, I attached a halfed pvc leather at the end of the ribbon. This will be the finger pull part.
 I trimmed off the access pvc leather after the adhesive had dried.
 Finally, completed. Picture of phone pulled out of the pouch; and picture of ribbon when phone is tucked in.
 I think this is a very simple pouch to make and can be applied to any phone, pda, etc. Simple satisfaction from own handmade goodness!